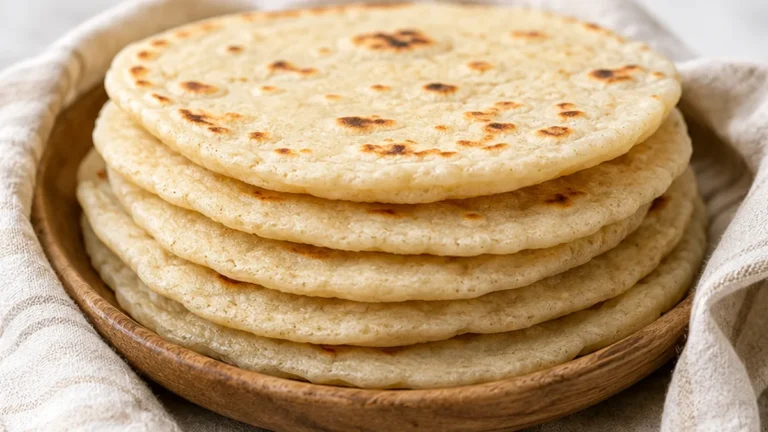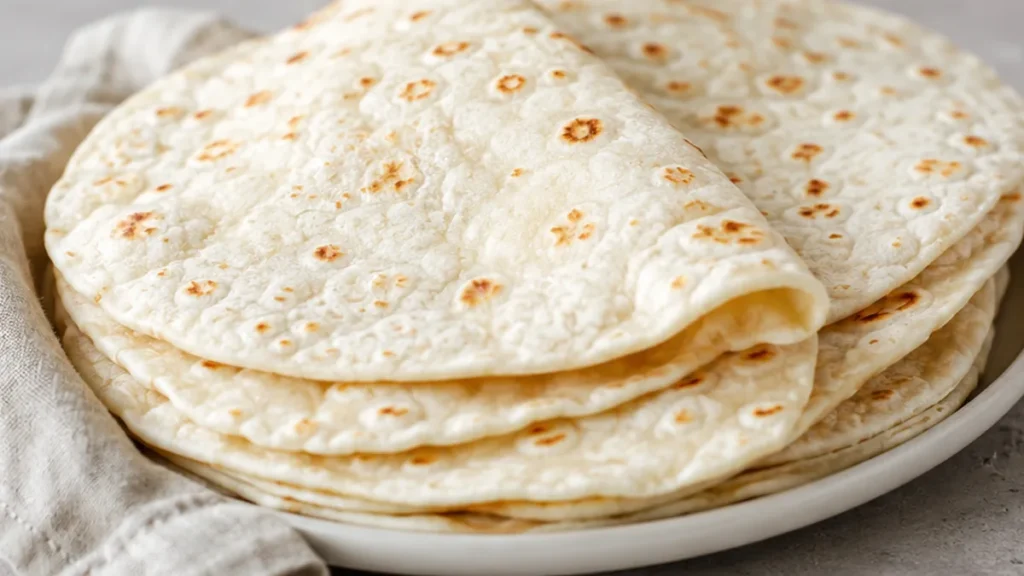
The secret to genuinely soft gluten-free wraps that don’t crack or crumble lies in the right flour blend and a specific kneading technique. This recipe guides you through creating pliable, delicious gluten-free wraps perfect for any meal, from tacos to quesadillas. Achieving the ideal texture for gluten-free wraps often feels like a challenge, but with the correct ratios and a little patience, you can consistently produce excellent results. I’ve found that getting the dough hydration just right is crucial; too dry and it crumbles, too wet and it’s sticky.
Key takeaways
- Use a quality gluten-free flour blend for best results.
- Balance hydration and fat for fluffy texture.
- Ensure proper cooking temperature for puffing.
- Adjust water content based on dough consistency.
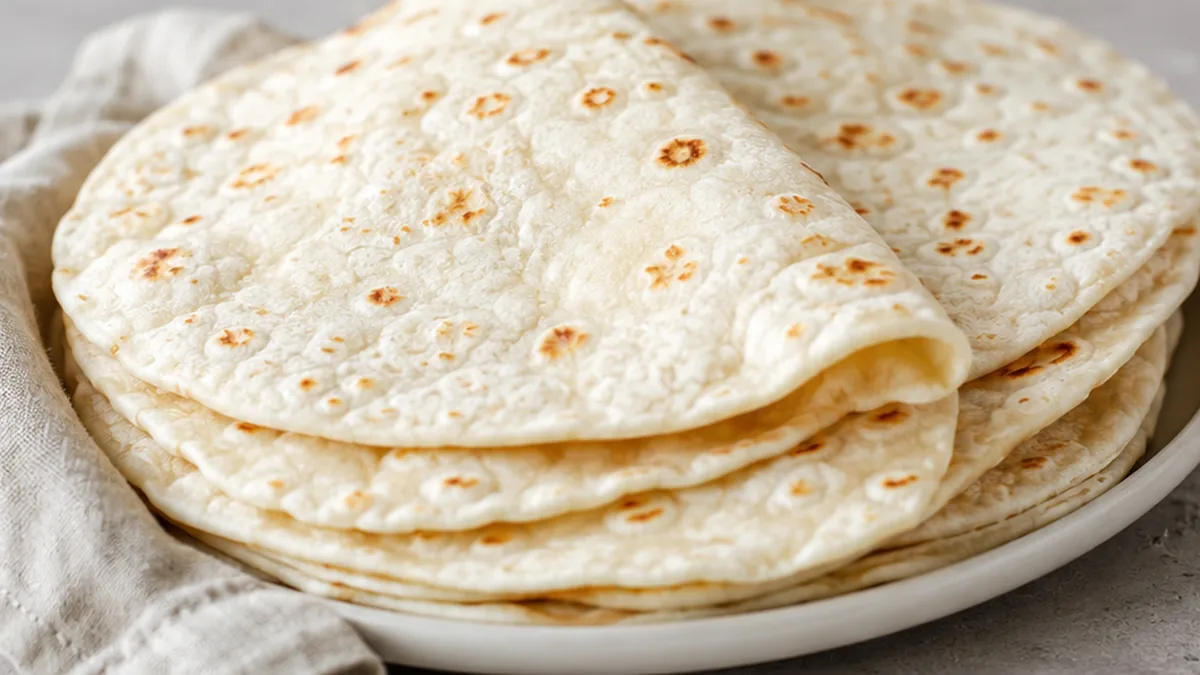
Fluffy Gluten-Free Wraps: Your New Taco Night Star!
Ingredients
Method
- In a medium mixing bowl, whisk together the gluten-free flour blend, baking powder, xanthan gum, and salt.
- Using a pastry blender, cut in the shortening until the shortening is the size of small peas.
- Add 1/2 cup water and give it a good stir. The dough will be dry. Add in the remaining 1/4 cup water and stir.
- Work the dough with your hands until it comes together into a ball.
- Place a piece of wax paper on your counter. Sprinkle gluten-free flour over the surface. Turn your dough onto the floured wax paper.
- Knead the dough with your hands until smooth. If the dough is too wet, add additional flour and knead it; if the dough feels dry, knead 1 tablespoon of water into it.
- Heat a cast iron skillet over low-medium heat.
- Roll dough into 12, 2-inch dough balls. Place one dough ball onto your floured wax paper. Place another piece of wax paper on top and using a rolling pin, roll into about 1/8th thick.
Notes
– Use a good quality gluten-free all-purpose flour blend. If your blend doesn’t contain xanthan gum, add it as specified for elasticity.
– For best results, cook the wraps on a preheated cast iron skillet until lightly browned and slightly puffed, about 1-2 minutes per side. Nutrition information is an estimate, calculated automatically. Values vary with brands, substitutions and portion sizes.
The technique that makes it
Creating fluffy gluten-free wraps hinges on achieving the right balance of hydration and fat. The use of a gluten-free flour blend, such as Bob’s Red Mill 1-to-1, is essential because it mimics the properties of traditional wheat flour. Xanthan gum, if included, acts as a binder, providing elasticity and structure that gluten would normally contribute. The incorporation of shortening adds moisture and richness, while baking powder introduces airiness. When mixing, ensure that the dough is neither too dry nor too wet; it should be soft but not sticky. Proper hydration helps the wraps puff up during cooking, leading to that desired fluffy texture.
Troubleshooting
- Wraps are too dry: If your wraps turn out dry, consider increasing the water content by a tablespoon at a time until the dough reaches the right consistency.
- Wraps are too sticky: If the dough is overly sticky, add a little more gluten-free flour blend, one tablespoon at a time, until the dough is manageable.
- Wraps are not puffing up: Ensure your baking powder is fresh, as expired leavening agents can prevent the wraps from rising. Also, check that your cooking surface is hot enough.
- Wraps are tearing easily: This can happen if the dough is rolled too thin. Aim for a thickness of about 1/8 inch to maintain integrity while cooking.
Substitutions
- Gluten-free flour blend: You can substitute with a different brand of gluten-free flour blend, but ensure it is a 1-to-1 substitute for best results.
- Shortening: Coconut oil or unsalted butter can be used instead of shortening for a different flavor profile, but the texture may vary slightly.
- Xanthan gum: If your gluten-free flour blend already contains xanthan gum, you can omit it entirely without affecting the outcome.
- Baking powder: If you prefer a more natural leavening agent, you can use baking soda combined with an acidic ingredient like vinegar or lemon juice as a substitute.
Pro tips
- Don’t overwork the dough; knead just until smooth and pliable, usually 5-7 minutes. Over-kneading can make them tough.
- Use a good quality gluten-free all-purpose flour blend. If your blend doesn’t contain xanthan gum, add it as specified for elasticity.
- For best results, cook the wraps on a preheated cast iron skillet until lightly browned and slightly puffed, about 1-2 minutes per side.
Experiment with different gluten-free flour blends to find your favorite, and enjoy these versatile, homemade gluten-free wraps with any filling you desire. Happy wrapping!
Frequently asked questions
Can I make these wraps ahead of time?
Yes, you can prepare the wraps ahead of time. Store them in an airtight container in the refrigerator for up to three days. Reheat them on a skillet or microwave before serving.
What can I use these wraps for besides tacos?
These gluten-free wraps are versatile and can be used for burritos, quesadillas, or even as a base for wraps filled with your favorite ingredients, making them great for various meals.
How do I store leftover wraps?
Leftover wraps should be stored in an airtight container at room temperature for up to 2 days or refrigerated for up to a week. For longer storage, consider freezing them.
Can I add spices or herbs to the dough?
Absolutely! Feel free to add spices or herbs to the dough for added flavor. Just be cautious with the amount to ensure it doesn’t affect the dough’s consistency.
More from Gluten-Free Bread & Baking →