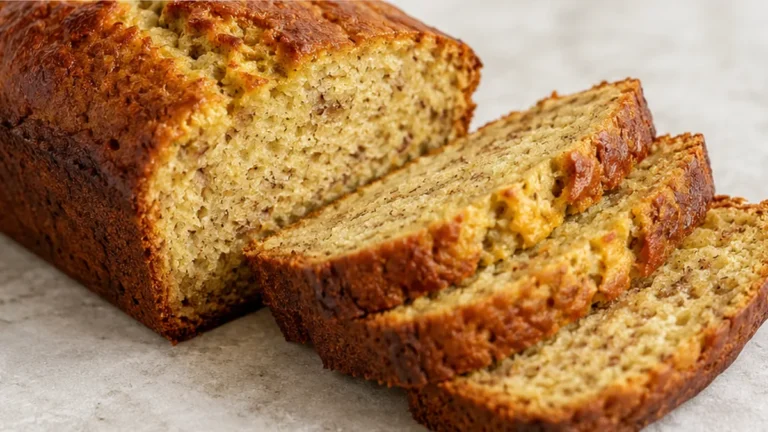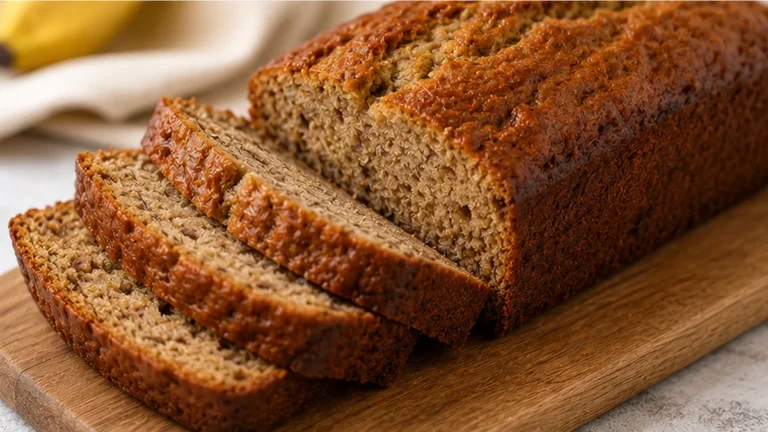
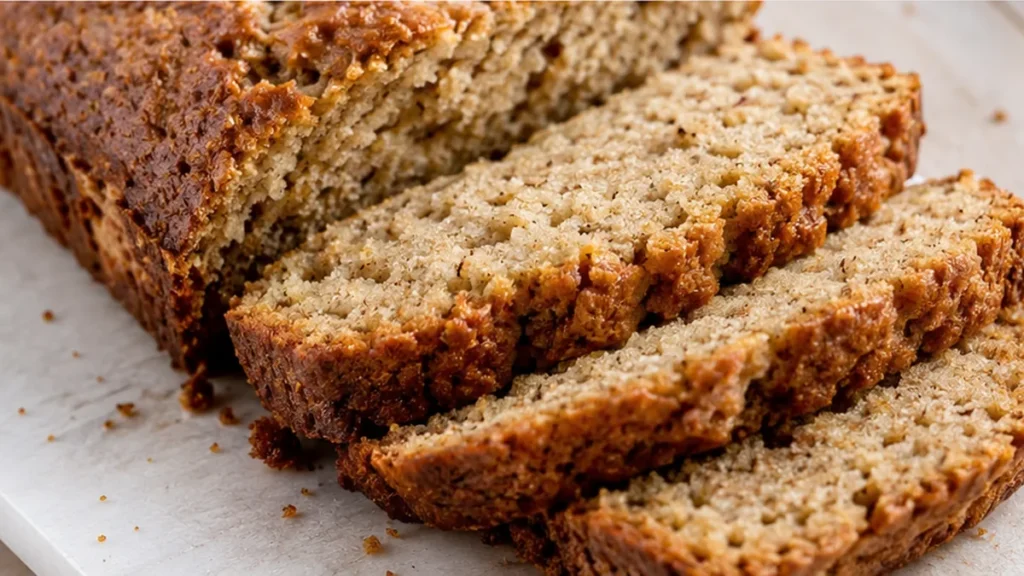
Gluten-free banana bread can often be a challenge, resulting in dry or crumbly loaves, but the secret to a truly soft and squishy version lies in using very ripe bananas and a balanced gluten-free flour blend with a binder. This recipe specifically addresses those common pitfalls to deliver a perfect loaf every time. This gluten-free banana bread focuses on optimal moisture retention through fat and fruit ratios, ensuring a tender crumb that holds together beautifully. It’s ideal for anyone seeking a delicious, comforting bake without gluten, offering a texture and flavor comparable to traditional recipes.
Key takeaways
- Use very ripe bananas for maximum moisture and sweetness.
- Ensure your gluten-free flour blend includes a binder like xanthan gum.
- Do not overmix the batter once the dry ingredients are added.
- Bake until a toothpick inserted into the center comes out clean to avoid overbaking.
Ultimate Gluten-Free Banana Bread – So Moist!
Ingredients
- 1/3 cup granulated sugar
- 1/3 cup brown sugar
- 1/3 cup vegetable or canola oil
- 2 large eggs
- 1 tablespoon vanilla extract
- 1 cup mashed very ripe banana (from 2-3 large bananas)
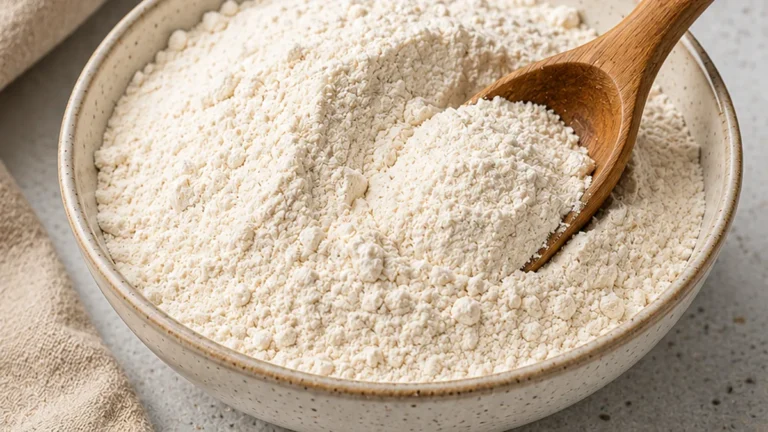
- 1-1 /2 cups gluten free baking flour blend WITH binder
- 1 teaspoon baking powder
- 1/2 teaspoon baking soda
- 1/2 teaspoon salt
Instructions
- Preheat the oven to 350 degrees then spray a 9×5” loaf pan very well with nonstick spray and set aside.
- Add the sugars and oil to the bowl of an electric mixer, or a large glass bowl if using a hand-held mixer, then beat on medium speed until combined, 30 seconds. Scrape down the sides of the bowl then add 1 egg at a time, mixing on low speed until just combined before adding the next egg. Add the vanilla extract and mashed bananas then mix until combined. Scrape down the sides of the bowl.
- In a separate bowl, whisk together the gluten free baking flour, baking powder, baking soda, and salt. Add the dry ingredients to the wet ingredients in two batches, mixing on low speed until just combined before adding the next batch. Scrape down the sides of the bowl then give the ingredients a good mix with a spatula to ensure everything is fully combined.
- Scoop the batter into the prepared loaf pan then bake for 50-60 minutes or until a toothpick inserted into the center comes out clean. At the 20 minute mark, place a piece of nonstick-sprayed foil on top (no need to crimp) to ensure the top does not over-brown.
- Let the banana bread cool in the pan for 20 minutes before running a knife along the edges and removing it from the pan. Cool the banana bread completely on a cooling rack then store wrapped in plastic wrap, a gallon-size Ziplock bag, or in an airtight container on the counter for up to 5 days. As with most gluten free baked goods, this bread is best served starting on day 2.
Video
Notes
The Science Behind the Moistness
The exceptional moistness and tender crumb of this gluten-free banana bread are a direct result of careful ingredient ratios and the natural properties of ripe bananas. The combination of both granulated and brown sugar contributes to moisture retention; brown sugar, with its molasses content, is hygroscopic, meaning it attracts and holds onto water. The oil, as a liquid fat, coats the flour particles, inhibiting gluten development (which is already absent in a gluten-free blend) and preventing the bread from becoming tough or dry. It also contributes to a tender texture. The very ripe bananas are crucial not only for flavor but also for their high sugar and pectin content. Pectin acts as a gelling agent, and the sugars caramelize during baking, adding moisture and a desirable chewy texture. The leavening agents, baking powder and baking soda, work together to provide lift. Baking soda reacts with the slightly acidic components in the brown sugar and banana, producing carbon dioxide gas for immediate rise, while baking powder provides a slower, sustained release of gas, ensuring an even bake and preventing a dense center.
Troubleshooting
- Problem: Dry or crumbly bread. Fix: Ensure your bananas are very ripe and thoroughly mashed. Using a gluten-free flour blend that already contains a binder like xanthan gum is essential; if yours doesn’t, you may need to add it. Do not overbake; check for doneness with a toothpick inserted into the center.
- Problem: Dense or gummy texture. Fix: Measure your gluten-free flour accurately, preferably by weight. Overmixing can activate binders in the flour blend, leading to gumminess. Ensure your baking soda and baking powder are fresh and have not expired.
- Problem: Sunken center. Fix: This can be caused by underbaking, too much leavening, or opening the oven door too early. Ensure the baking powder and baking soda are fresh and accurately measured. Bake until a toothpick comes out clean, and avoid opening the oven until the last 15-20 minutes of baking.
- Problem: Bread sticks to the pan. Fix: Properly grease and flour (with gluten-free flour) your loaf pan, or use parchment paper to line it. Ensure the bread has cooled in the pan for at least 10-15 minutes before attempting to remove it.
Substitutions
- For oil: Unsweetened applesauce can be substituted 1:1 for the oil. The resulting bread will be slightly denser but equally moist.
- For gluten-free flour blend: A standard all-purpose flour can be used if gluten is not an issue. The texture will be slightly different, likely more elastic.
- For eggs: Two
Pro tips
- For the best texture, ensure your bananas are very ripe, with plenty of brown spots; this adds natural sweetness and moisture.
- When mixing, avoid over-beating the batter, especially after adding the dry ingredients. Mix just until combined to prevent a tough texture.
- If you find your gluten-free banana bread often turns out dry, try baking it for 5-10 minutes less than the recommended time and check for doneness frequently. You want a moist crumb, not a dry one.
This gluten-free banana bread offers a delightful solution for those craving a classic comfort food without gluten. Enjoy it warm with butter or a dollop of nut butter. Don’t hesitate to experiment with additions like chocolate chips or walnuts next time!
Frequently asked questions
Why do I need very ripe bananas?
Very ripe bananas are sweeter and easier to mash, contributing more moisture and natural sugars to the bread. Their breakdown also releases more pectin, which helps create a tender and moist crumb, enhancing the overall texture and flavor of the gluten-free banana bread.
What kind of gluten-free flour should I use?
Use a “cup-for-cup” or “1:1” gluten-free baking flour blend that is specifically formulated to replace all-purpose flour in recipes. Crucially, ensure it contains a binder like xanthan gum, as this is essential for structure in gluten-free baking.
Can I add nuts or chocolate chips?
Yes, you can add about 1/2 cup of chopped nuts (like walnuts or pecans) or chocolate chips to the batter. Fold them in gently after mixing the wet and dry ingredients to avoid overmixing. They add extra flavor and texture.
How do I know when the banana bread is done?
The bread is done when a toothpick or skewer inserted into the center comes out clean, with no wet batter attached. The top should be golden brown, and the edges should start to pull away slightly from the sides of the pan.
More from Gluten-Free Bread & Baking →